What data recovery tools to buy if you want to start a data recovery business?
Free video data recovery training on how to recover lost data from different hard drives?
Where to buy head and platter replacement tools at good prices?
Data recover case studies step by step guide
I want to attend professional data recovery training courses
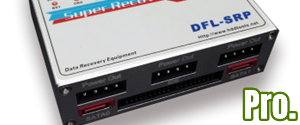
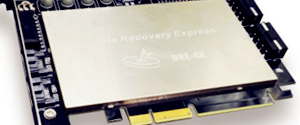
1, Connect the ST2000LM007 or ST1000LM035 patient hdd to DFL-SRP or DFL PCIe hardware and connect the COM port properly;
2, Go to DFL Cpanel, select the channel users have connected the patient hdd to and open the DFL Seagate firmware repair program;
3, Power on the hard drive and wait until the drive gets ready, users can go to COM terminal and check the current status, try to enter F3 T>, type any command, users will get terminal message as ‘Diagnostic Port Locked’, that is to say users need to unlock the COM terminal for further firmware repair;
Please note for step 3: If clicking noises are heard at power startup, users need to find out if it is head issue. Mostly it is head issue if clicking and users must stop power first and then bring the patient drive to clean room for head swap. If the hdd doesn’t spin up at all, users need to find one donor PCB to swap and solder the patient ROM chip or transfer the original ROM to donor PCB. After head swap or PCB swap, continue the steps.
4, Read ROM by COM, remember to select the LM family, users can select a high baud rate for faster ROM backup;
5, Go to ROM Operations>Unlock>Unlock ROM (EX ROM File), users need to select the original ROM path and the unlock ROM path and the DFL Seagate firmware repair program will generate the unlock ROM automatically;
6, Write ROM by COM, remember to select the unlock ROM to write and select the LM to write. After the ROM write completes, power off and on and in COM terminal, we can see message as “Tech Unlock Handshake: 0xXXXXXXXX” and this means the unlock ROM is good;
7, Go to ROM Operations>Unlock>Send Unlock Key, at this time, users can notice the hdd status has changed from Busy to Ready;
8, Go to Common Functions>Status Refresh>Get All>Obtain Details>OK, quit the Status Refresh window;
9, After above steps, the firmware area is accessible and users can enter F3 T> to input commands, can read and write firmware, can edit ID, etc;
10, After fixing the firmware failure, the data area is usually accessible for recovery.


Comments are closed
Sorry, but you cannot leave a comment for this post.