What data recovery tools to buy if you want to start a data recovery business?
Free video data recovery training on how to recover lost data from different hard drives?
Where to buy head and platter replacement tools at good prices?
Data recover case studies step by step guide
I want to attend professional data recovery training courses
Some WD USB hdds are very easy to recover while some others are not. Most data recovery engineers have learnt to recover lost data by converting the USB to SATA and transferring the ROM chip from USB PCB to SATA PCB.
Today in this article, the steps used are to fix some difficult WD USB hdd recovery cases.
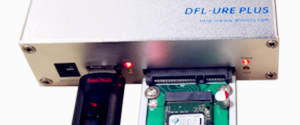
When connecting the patient USB hdd to pc, HDD is not detected in disk management and sometimes hang the pc. Please note, the case to be discussed has no physical head damage, just firmware corruption. If the drive has physical head damage, users need to swap the heads first with Hard Drive Ramp Toolkit Pro. and then use DFL-SRP for WD to fix the firmware failure and finally use DDP data recovery program to extract the data.
Here are the steps to recover lost data from these cases:
Step 1: Swap the USB PCB with compatible SATA PCB(Users can get compatible WD SATA PCB here)
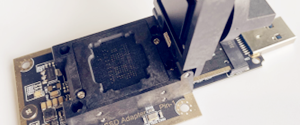
Step 2: Transfer the ROM chip(U12) from USB PCB to SATA PCB;
Step 3: Install the SATA PCB to patient HDD;
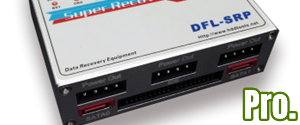
Step 4: Connect patient HDD to DFL-SRP hardware, Short connect TV9 and TV10 and power on the drive and wait until the drive gets ready;
Step 5: Enter the program and backup all firmware modules;
Step 6: Backup original ROM, Bypass SA and power off;
Step 7: Power on the drive, auto load ATA, get details and enter the program;
Step 8: Load module directory to RAM (If the FW can be read/written successfully, no need to use this step);
Step 9: Common Repair-Slow Fix Option 1;
Step 10: Write original ROM back;
Step 11: Power off and on and go to DDP data recovery program;
Step 12: Go to file extraction and all data has been there ready for extraction.

Comments are closed
Sorry, but you cannot leave a comment for this post.